 binledger.
How to start
Set up your warehouse once. Create locations, print labels, add users and test your first receiving and putaway.
Create your warehouse
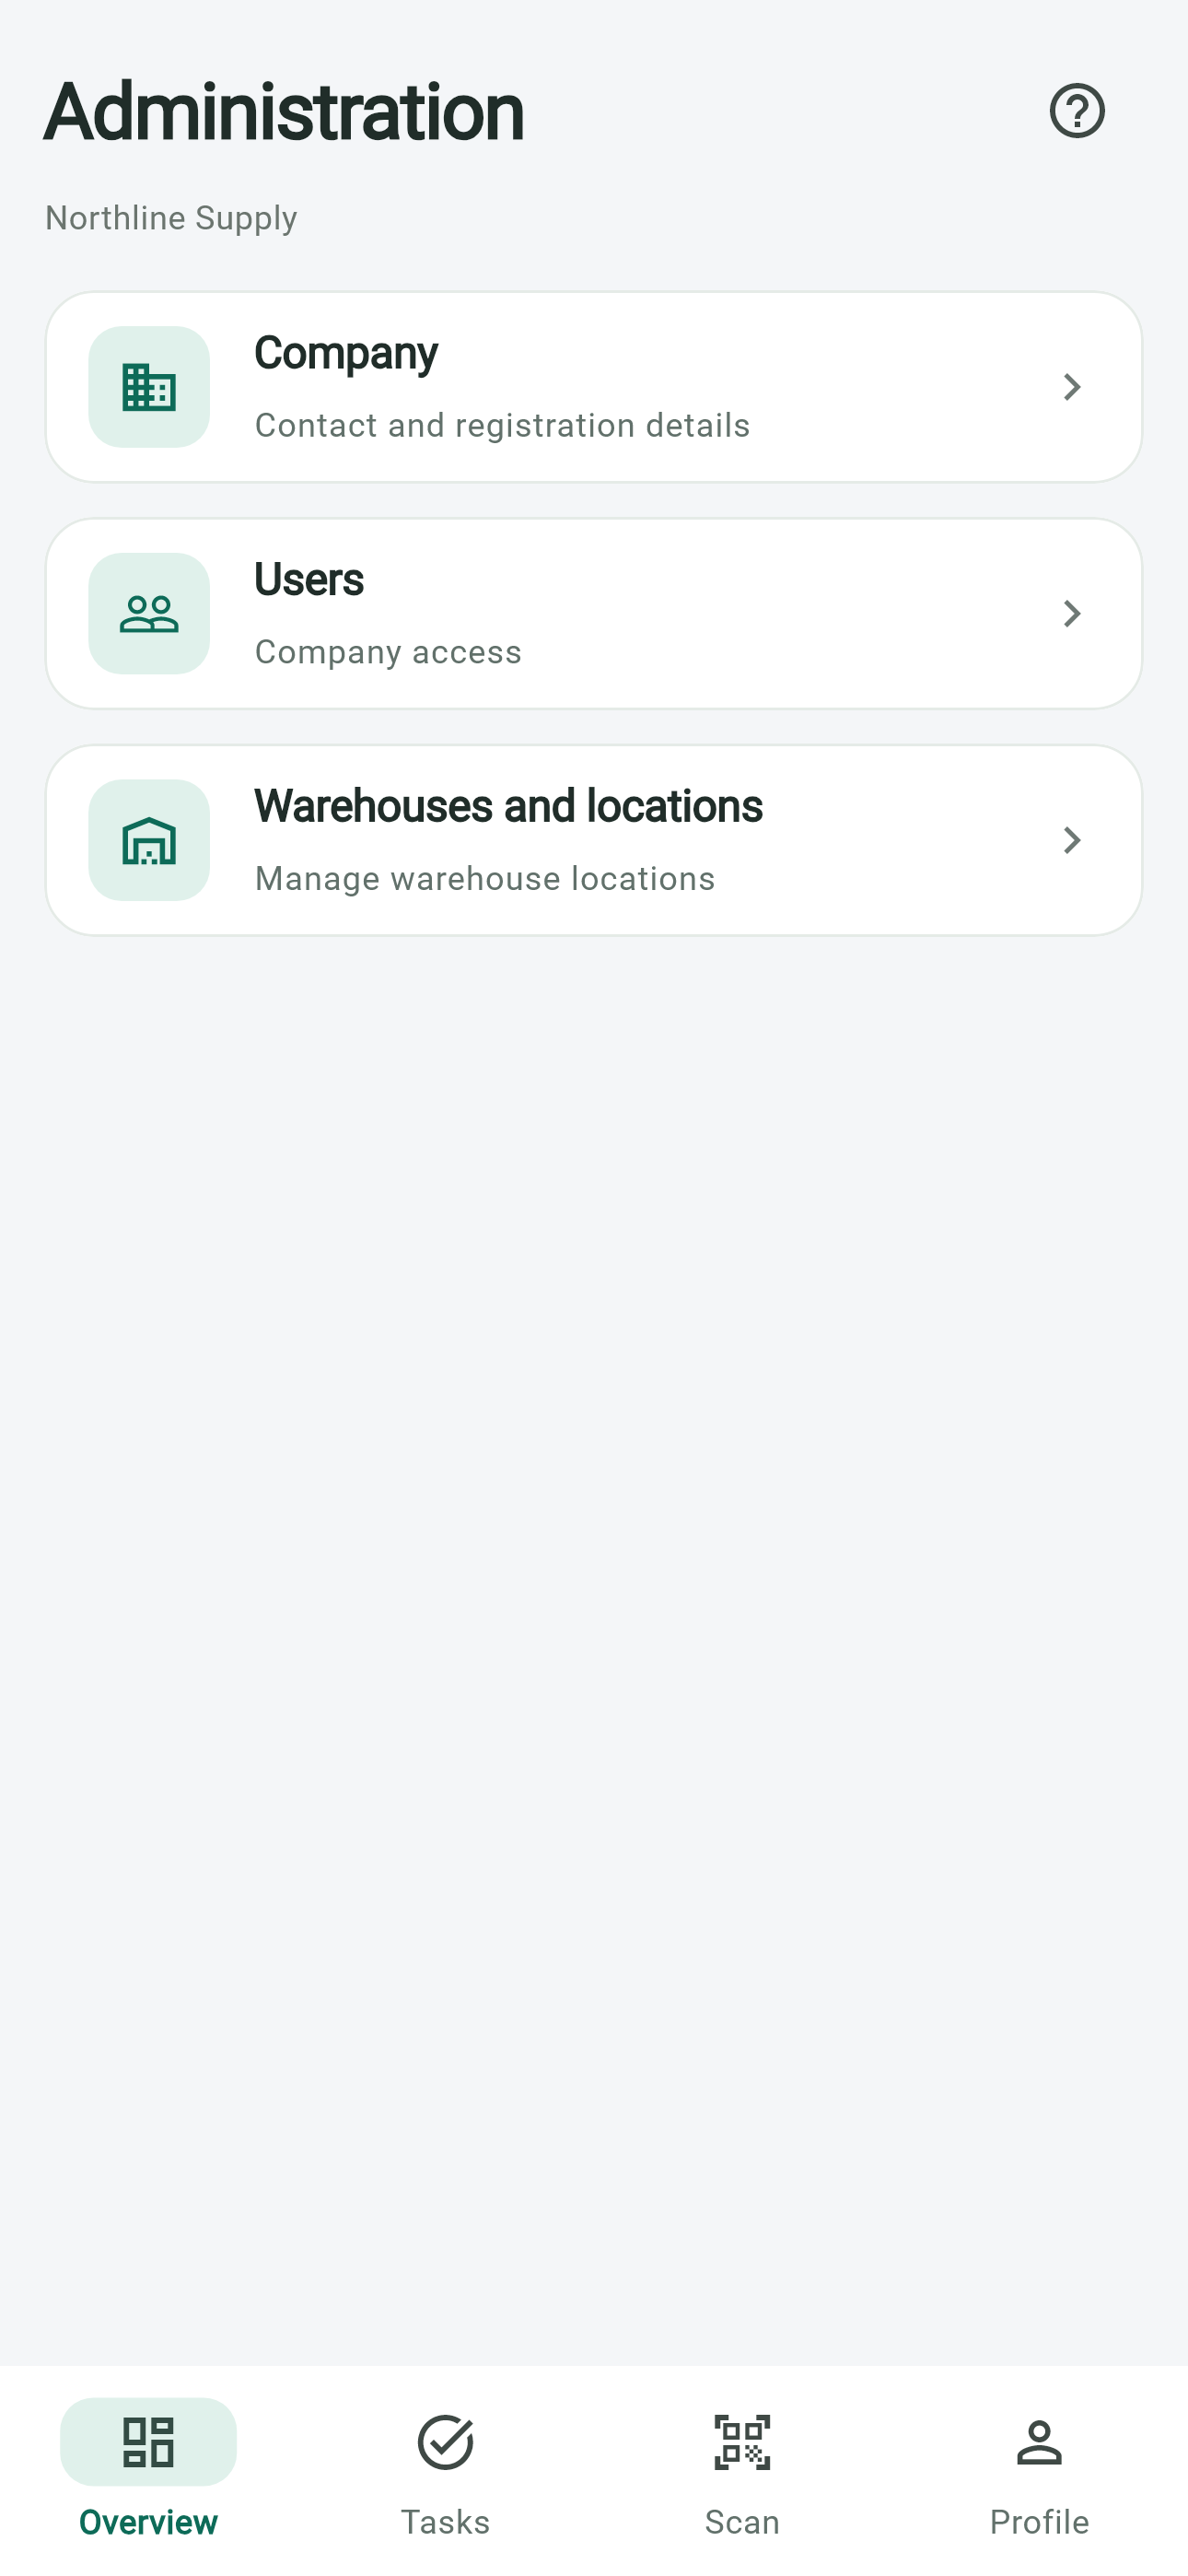
Create your company workspace, then add your warehouse in Administration.
- Company
- Administration
- Warehouse
See in the app
Before you continue
Check the company and warehouse names so your team starts in the right workspace.
Set up locations
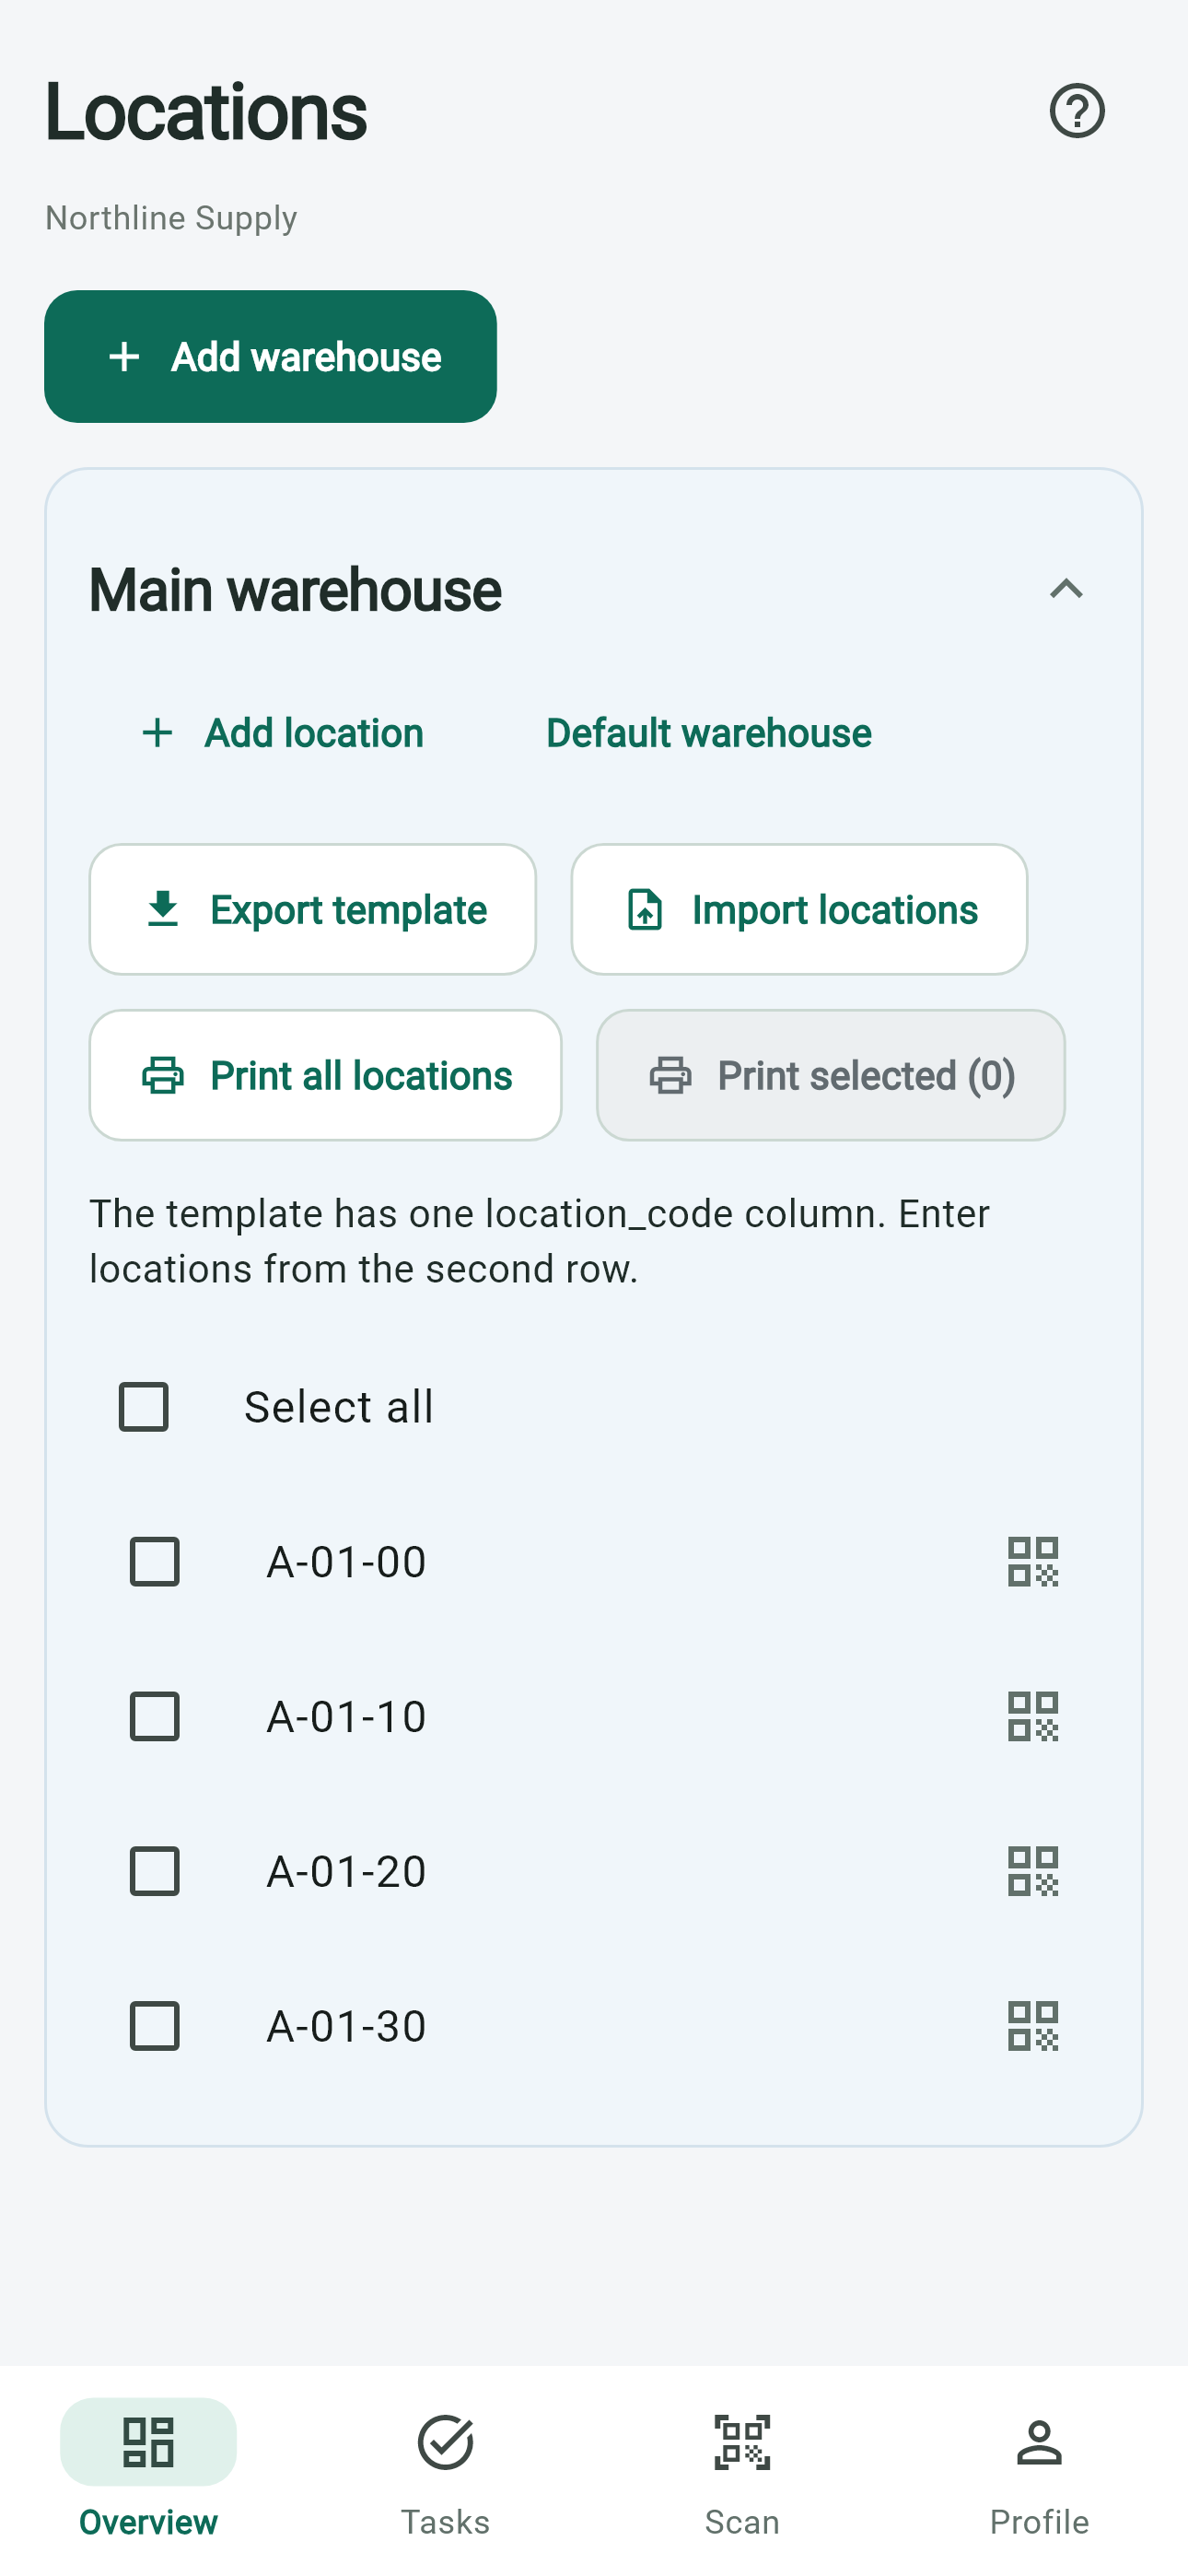
Create locations in Administration before work starts. Operators should use these locations, not create random ones during daily work.
00 = floor level
High-rack tip
Location QR labels do not need to be placed at the exact physical height. For example, QR labels for levels 00, 10, 20 and 30 can all be placed at an easy-to-scan height, such as level 10. The QR identifies the system location, not the physical height of the sticker.
See in the app
Print location QR labels
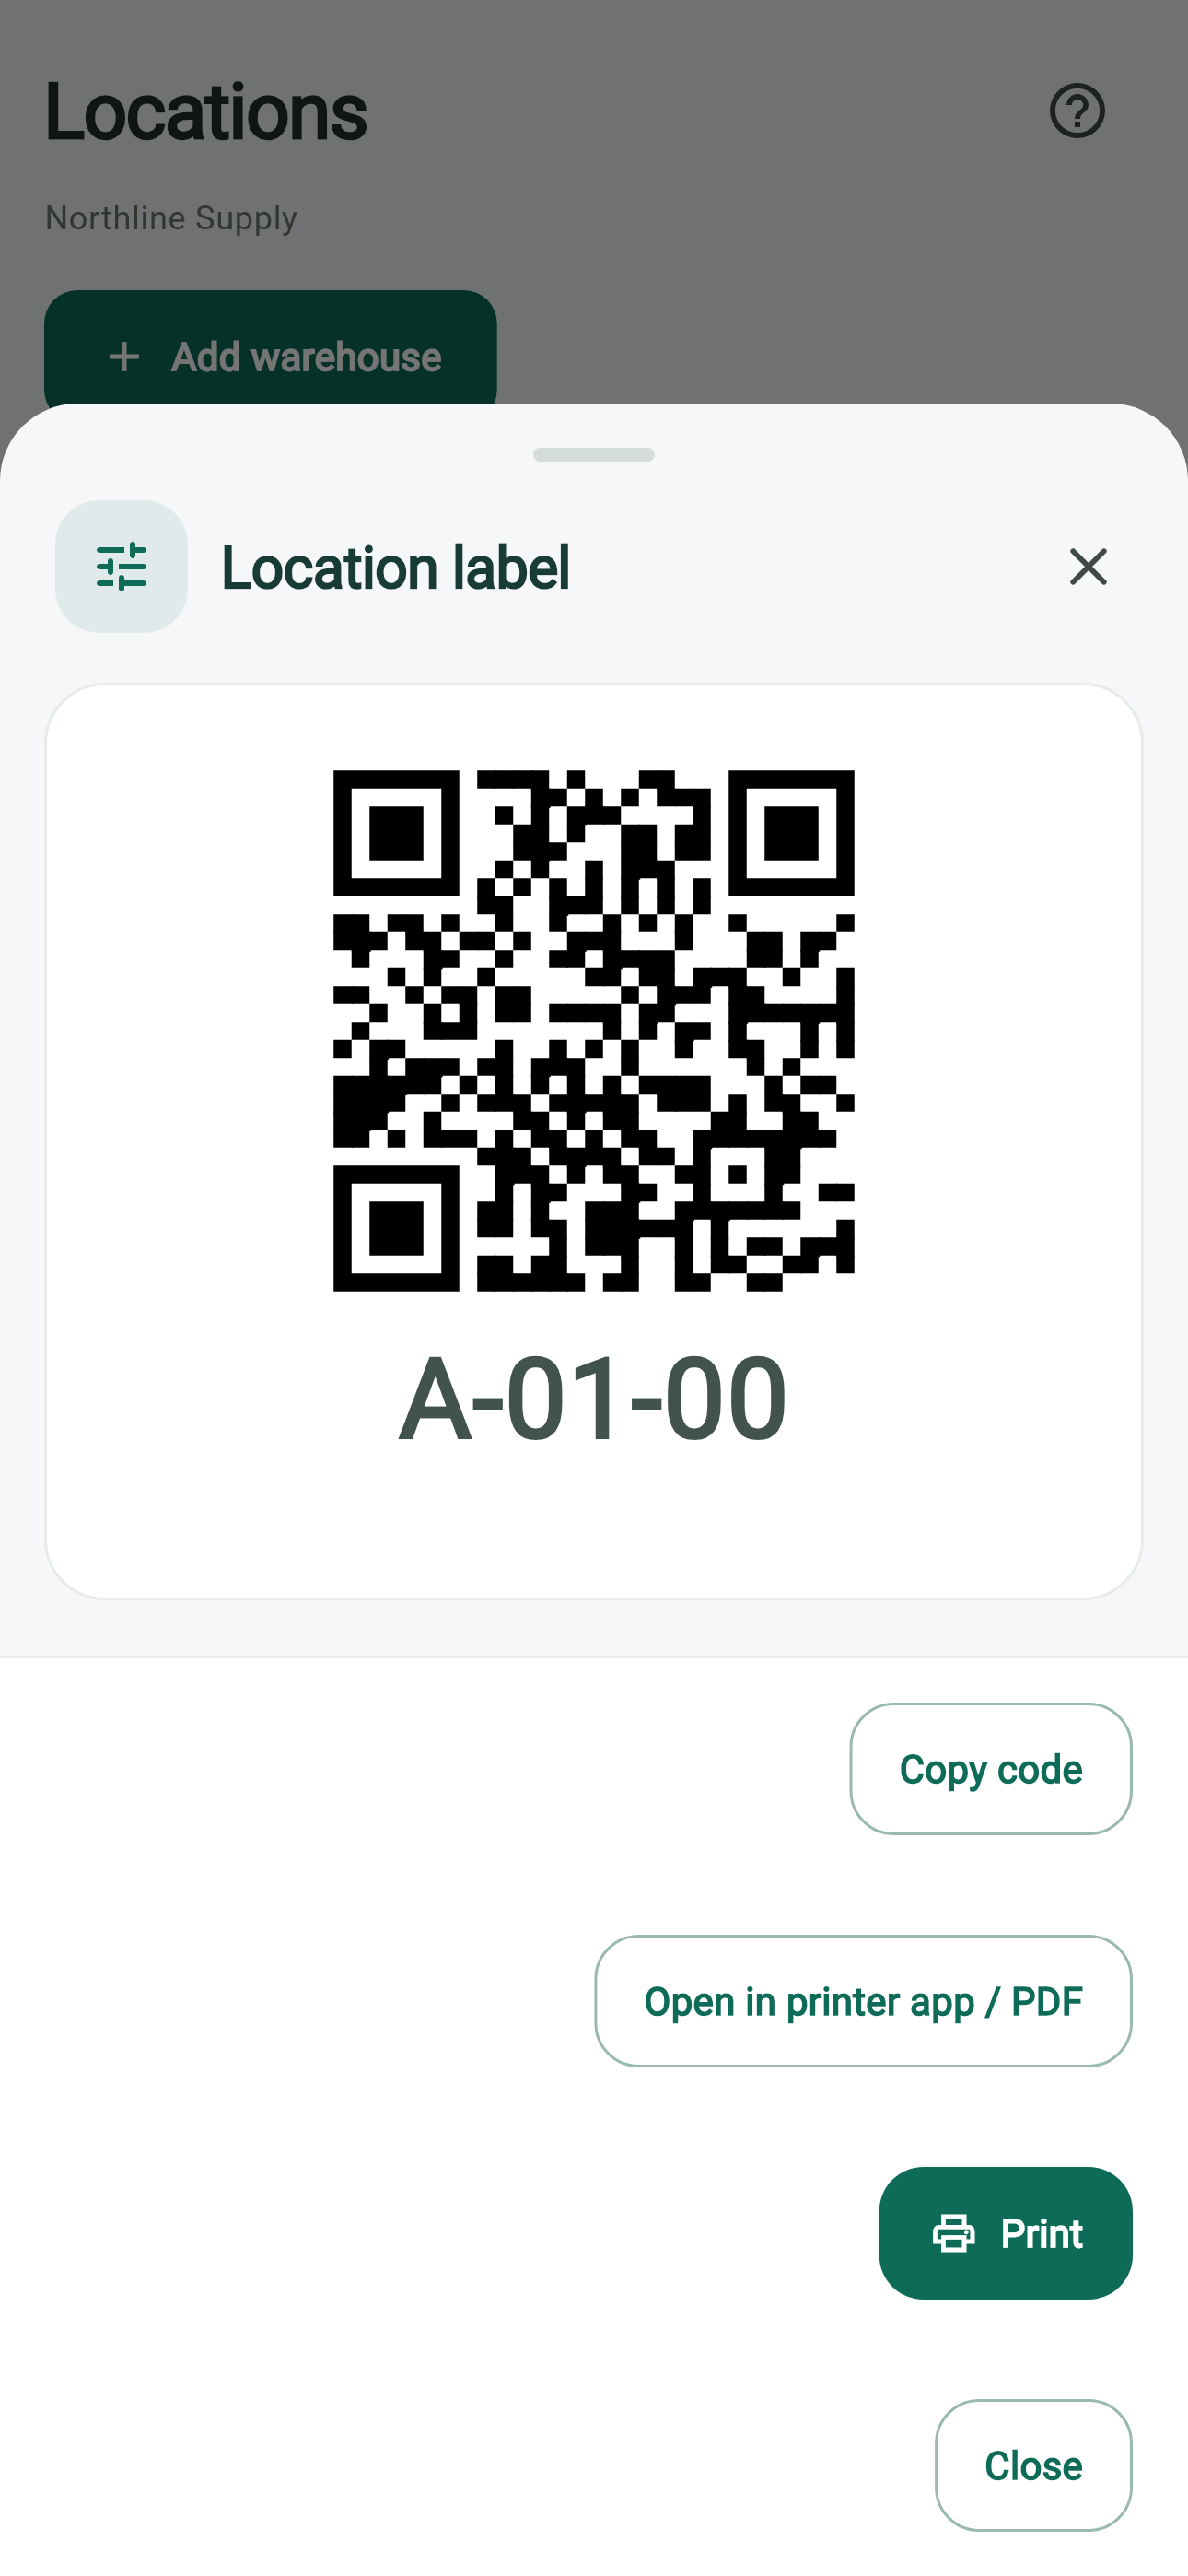
Print labels for your prepared locations. Place each one where workers can scan it and clearly see which location it identifies.
- Locations
- Print QR labels
- Attach
- Test scan
See in the app
Placement tip
Keep the full code visible, with no folds or obstructions. Test that scanning opens the intended location before labelling the whole warehouse.
Set up the printer
Connect your printer, choose a practical spot near receiving and test one label before printing a batch.
- Connect
- Print one label
- Check size
- Test scan
See in the app
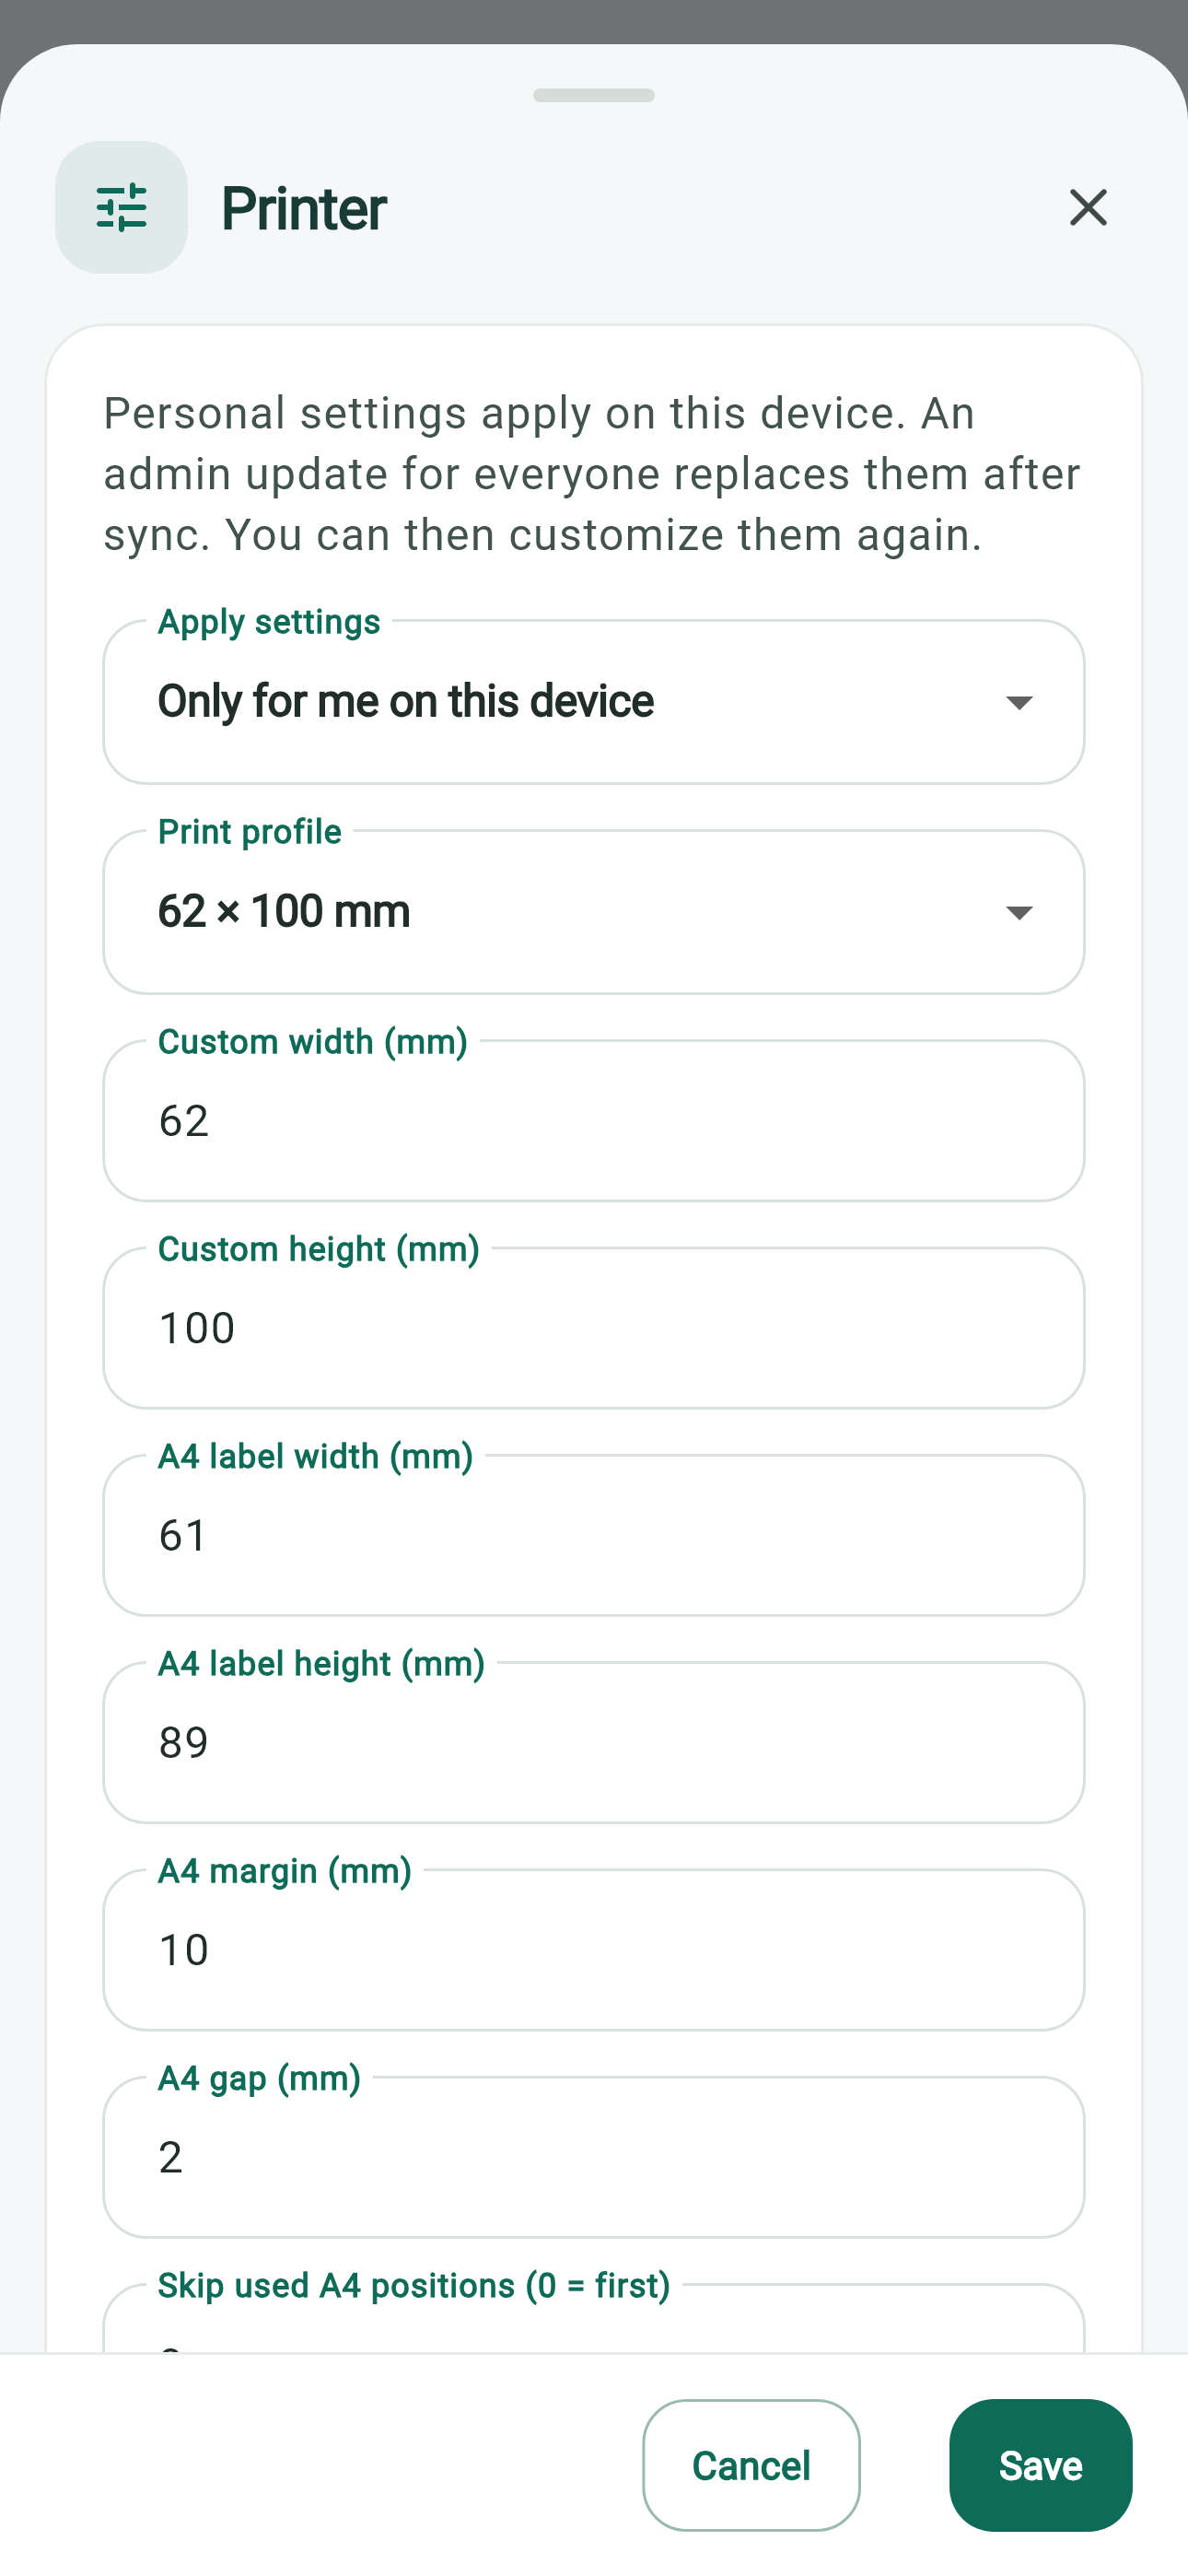
Printing and readability
Open Printer in your Profile. Select the physical printer in the system print dialog, or use the available PDF / printer-app option. Check label size, margins and readability on your device.
Users and roles
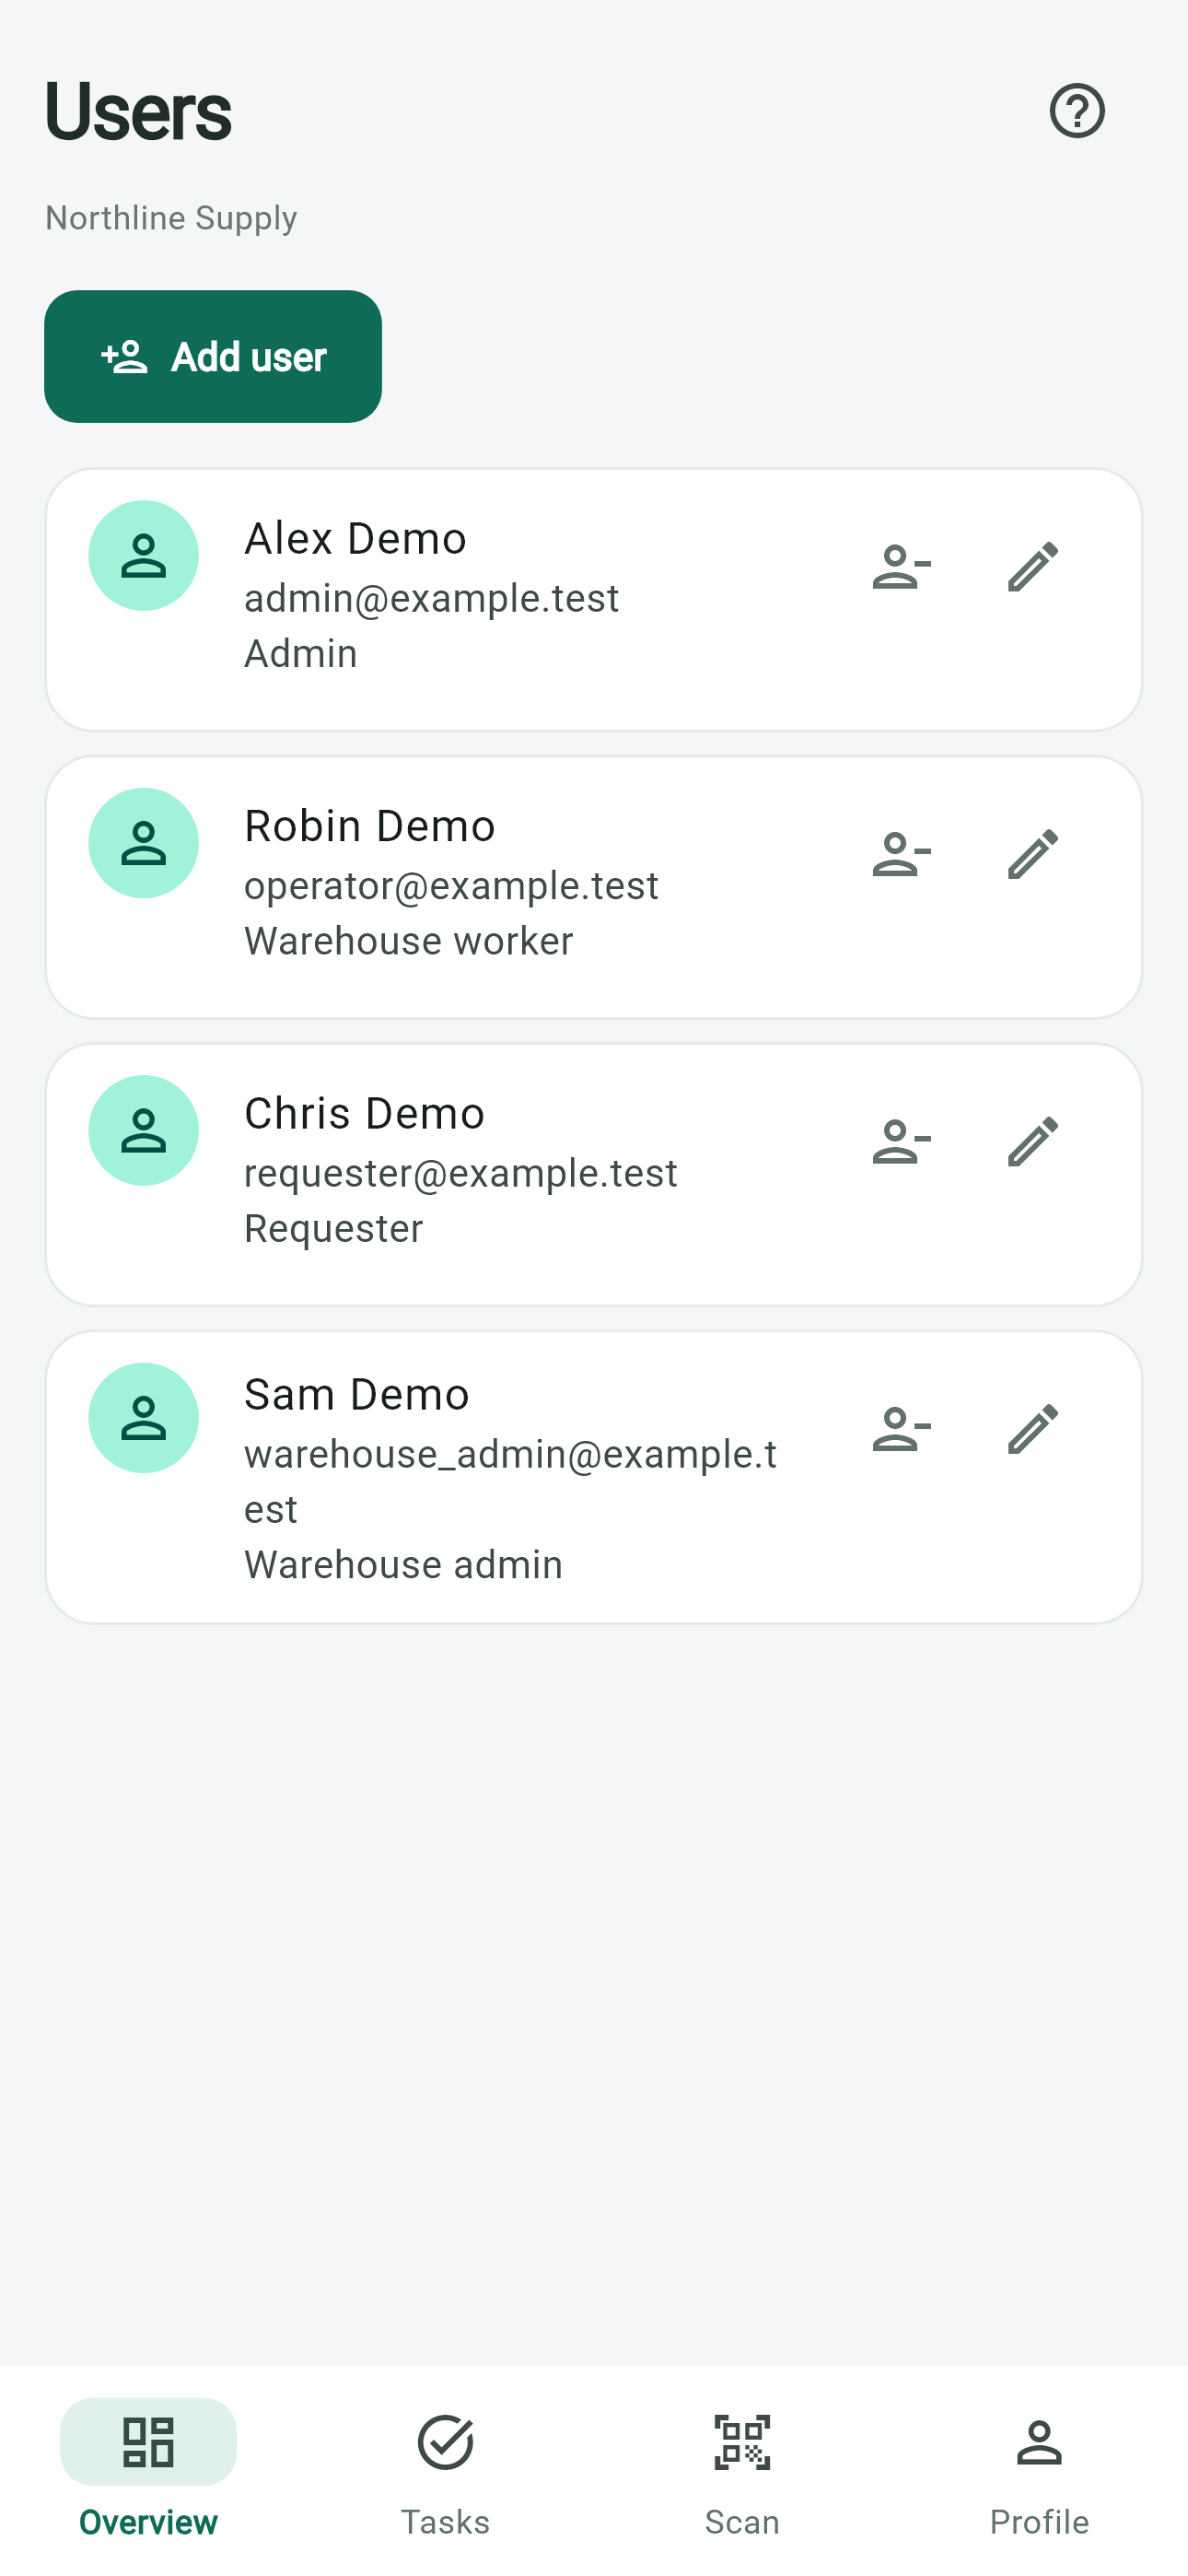
Invite your team and give each person the access they need.
- Admin
- Manages the company and its members.
- Warehouse admin
- Manages warehouses, locations, operations and printing.
- Operator
- Carries out daily warehouse operations.
- Requester
- Creates and follows warehouse requests.
See in the app
Add or import items
Prepare items in advance, or create and match them during receiving. Check names, units and existing product codes.
- Create / import
- Check item
- Ready to receive
See in the app
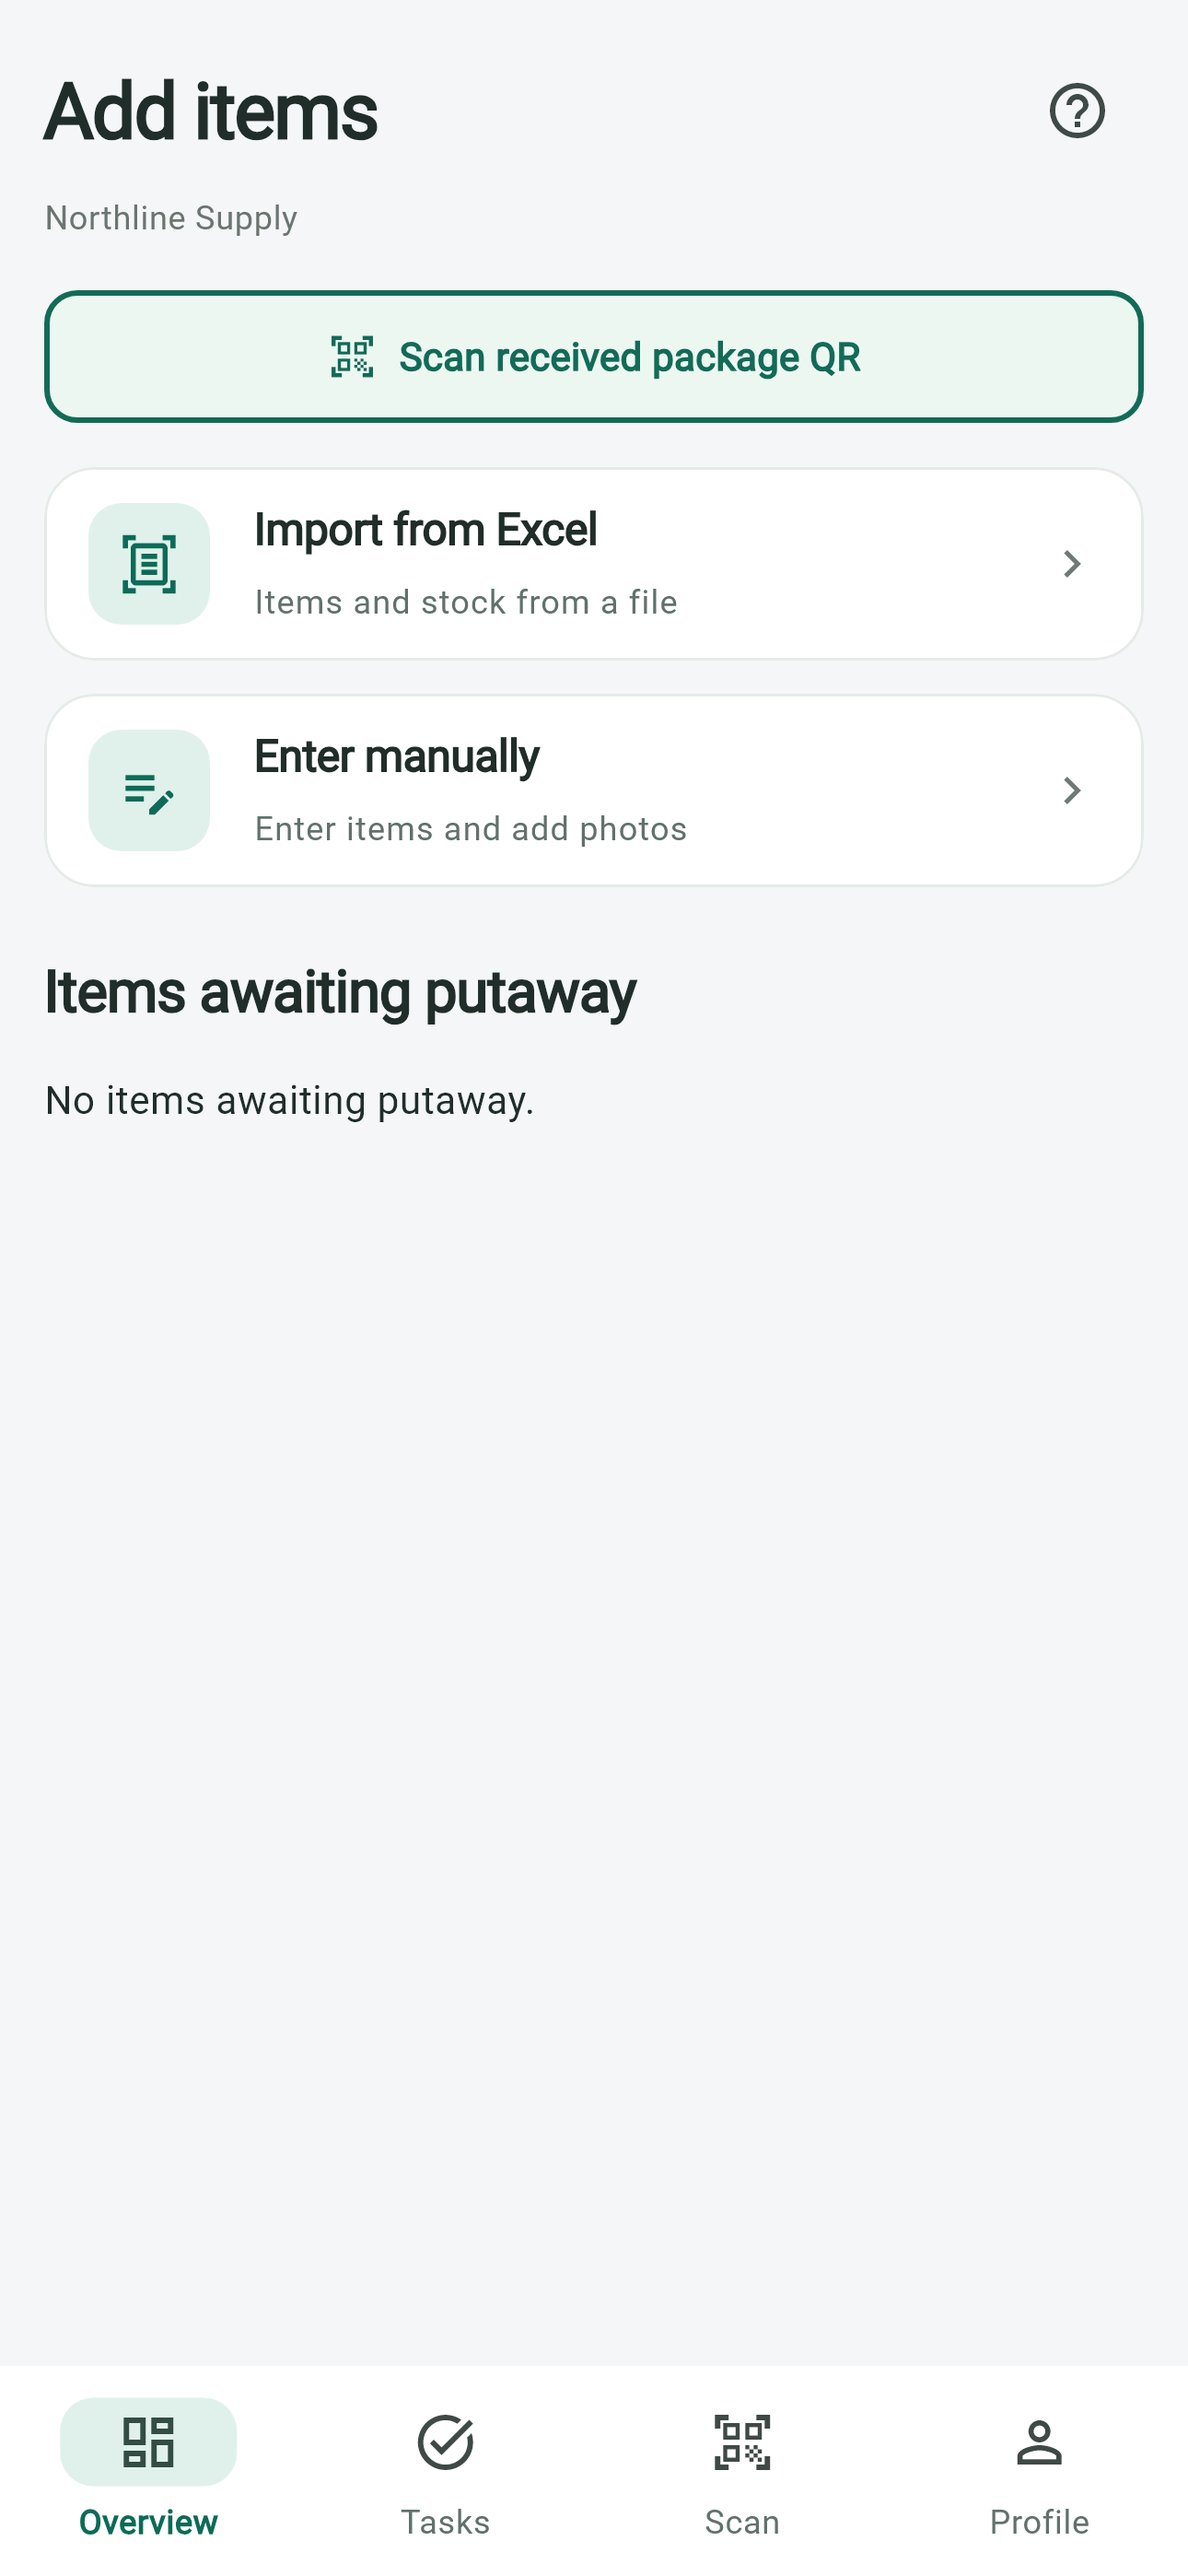
Import tip
Use the app’s import template where available. Review imported lines before posting: a document prepares a receipt; it does not itself create stock.
First receiving
Try one item first. Check the actual delivered quantity, then post the receipt.
- Add item
- Check quantity
- Receive goods
See receiving screen
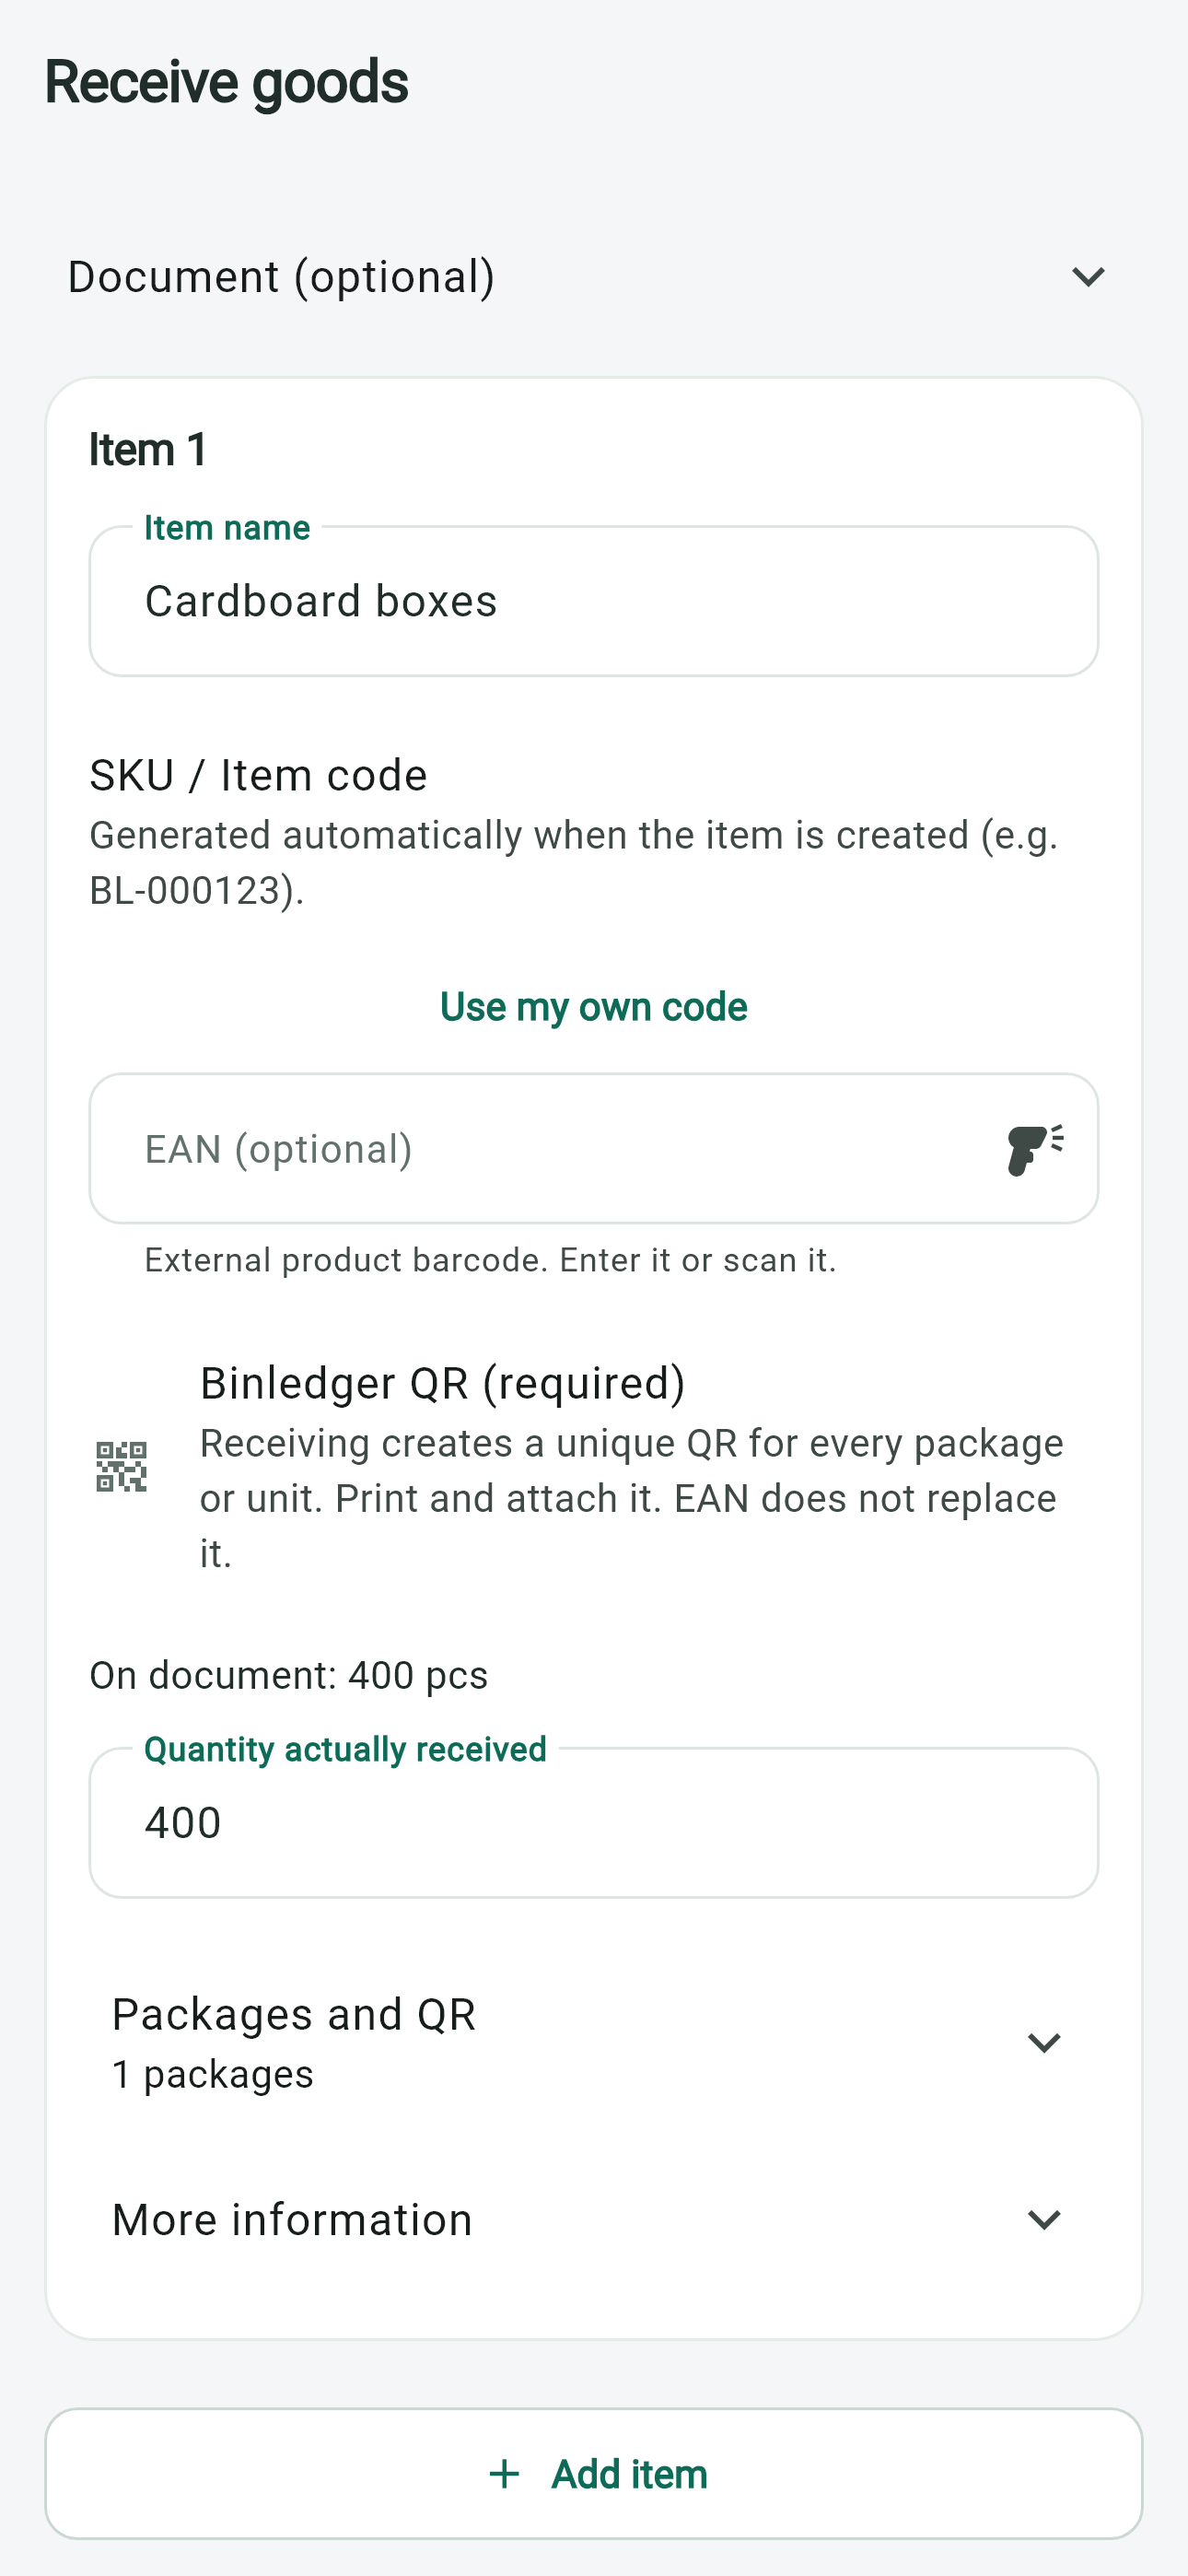
First QR / EAN setup
EAN identifies the product. Binledger QR identifies a specific tracked package or unit.
See in the app
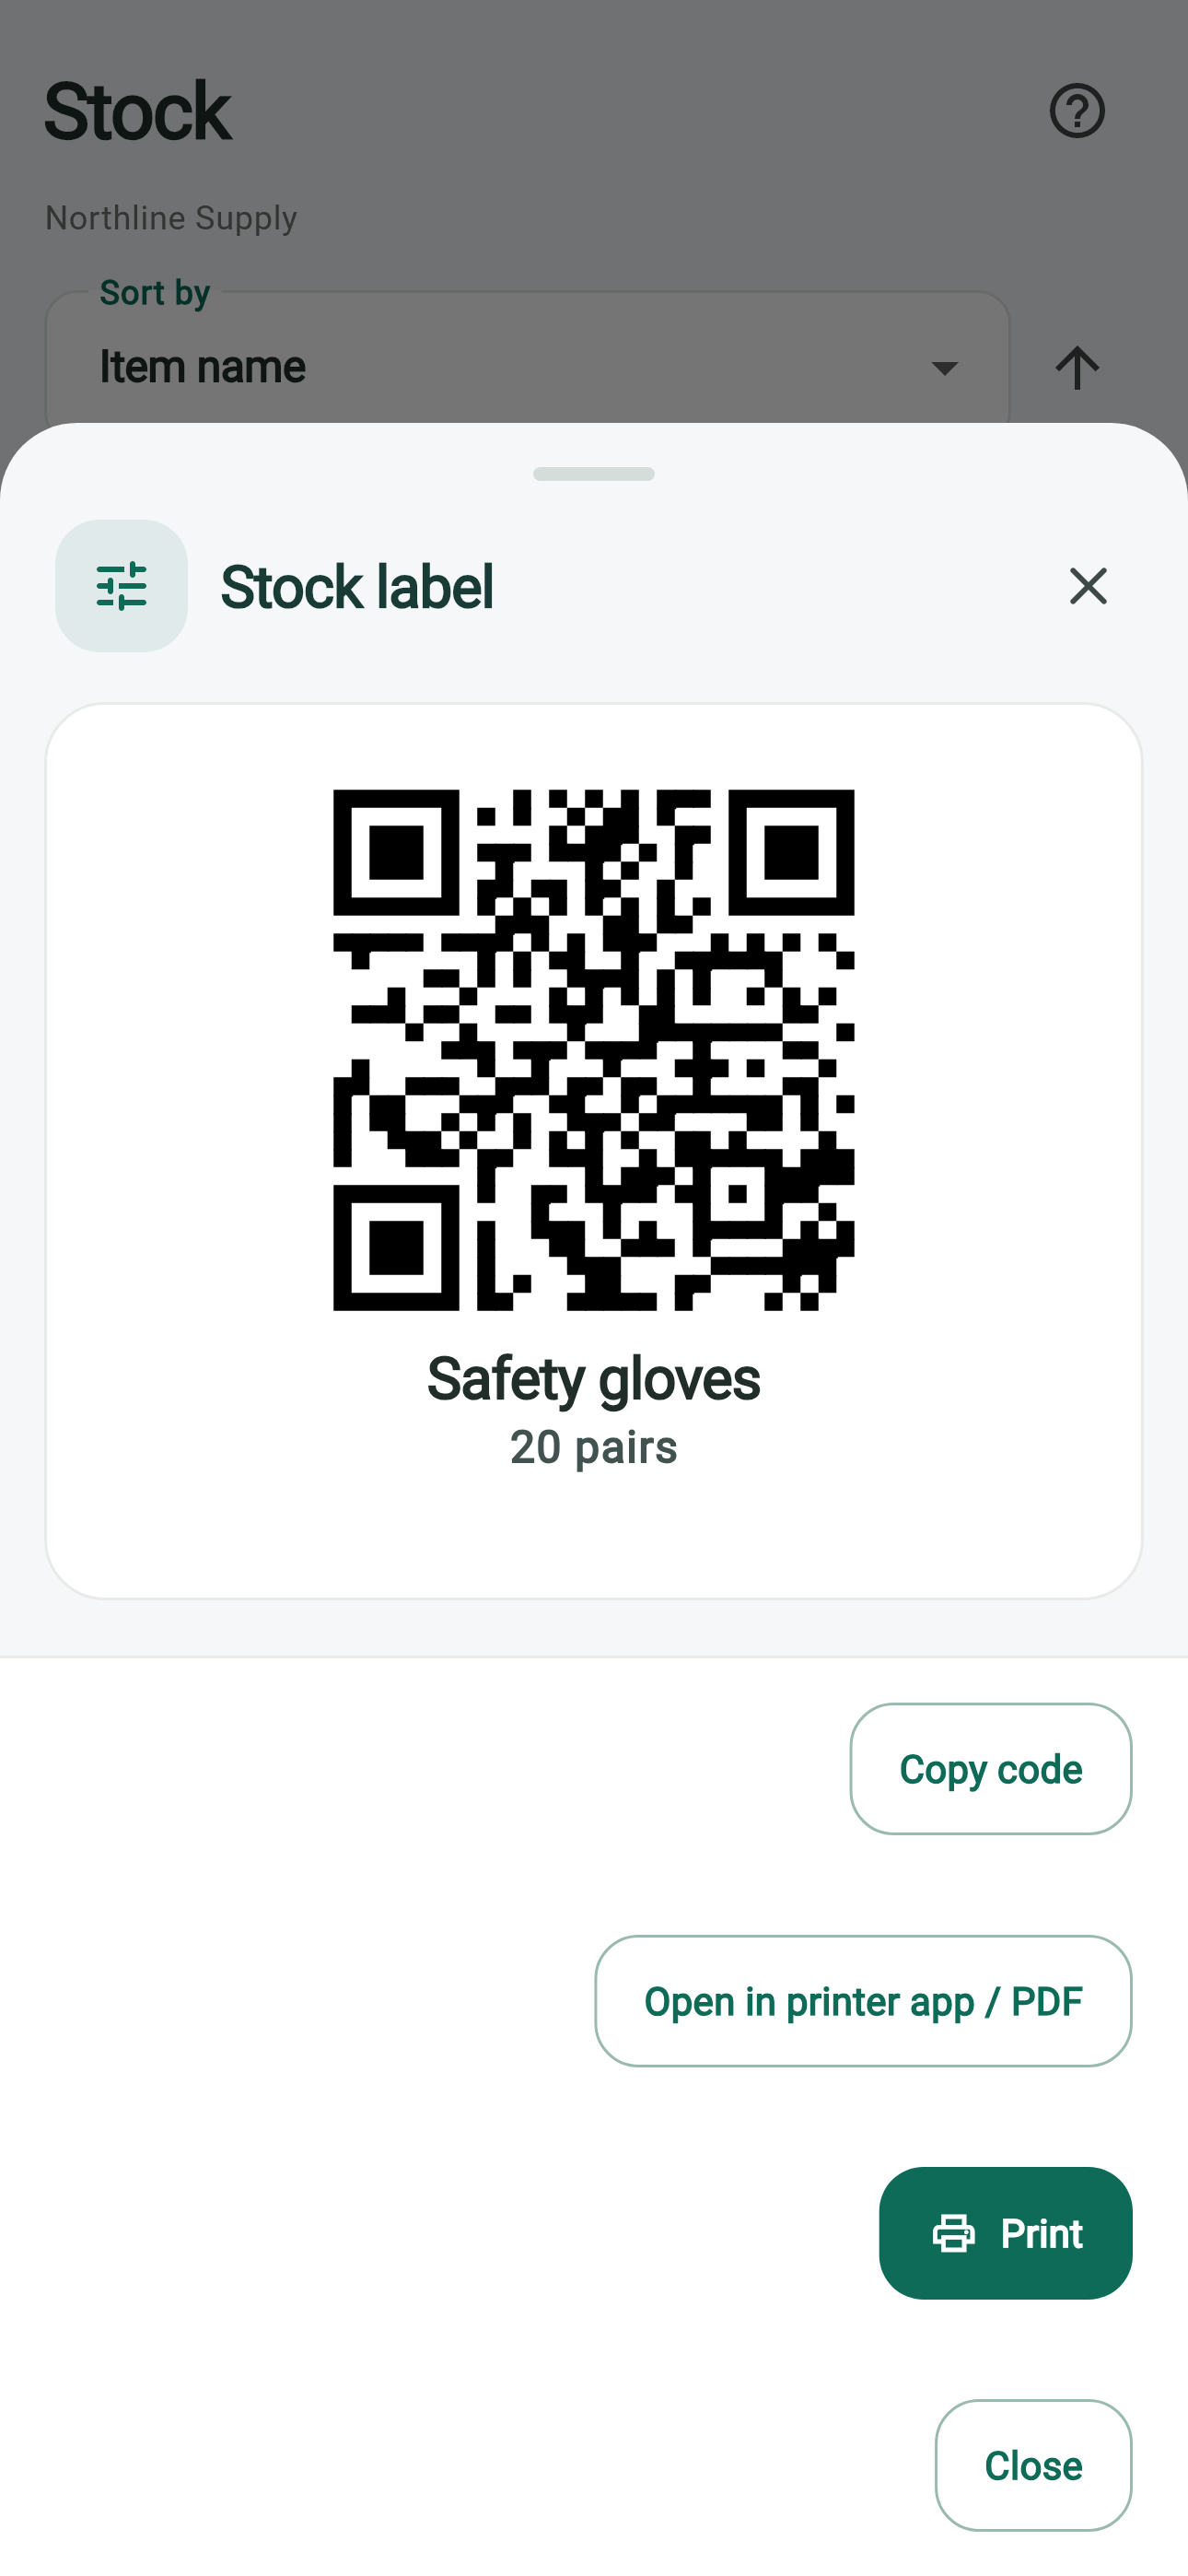
If a code is missing
If a tracked package has no QR, print its Binledger label. Link an existing EAN when available; an EAN does not replace the identity of a separately tracked package.
First putaway
Put the goods in their place and complete the scan checks before confirming.
- Scan item/package
- Scan location
- Verify item/package
- Confirm
See putaway screen
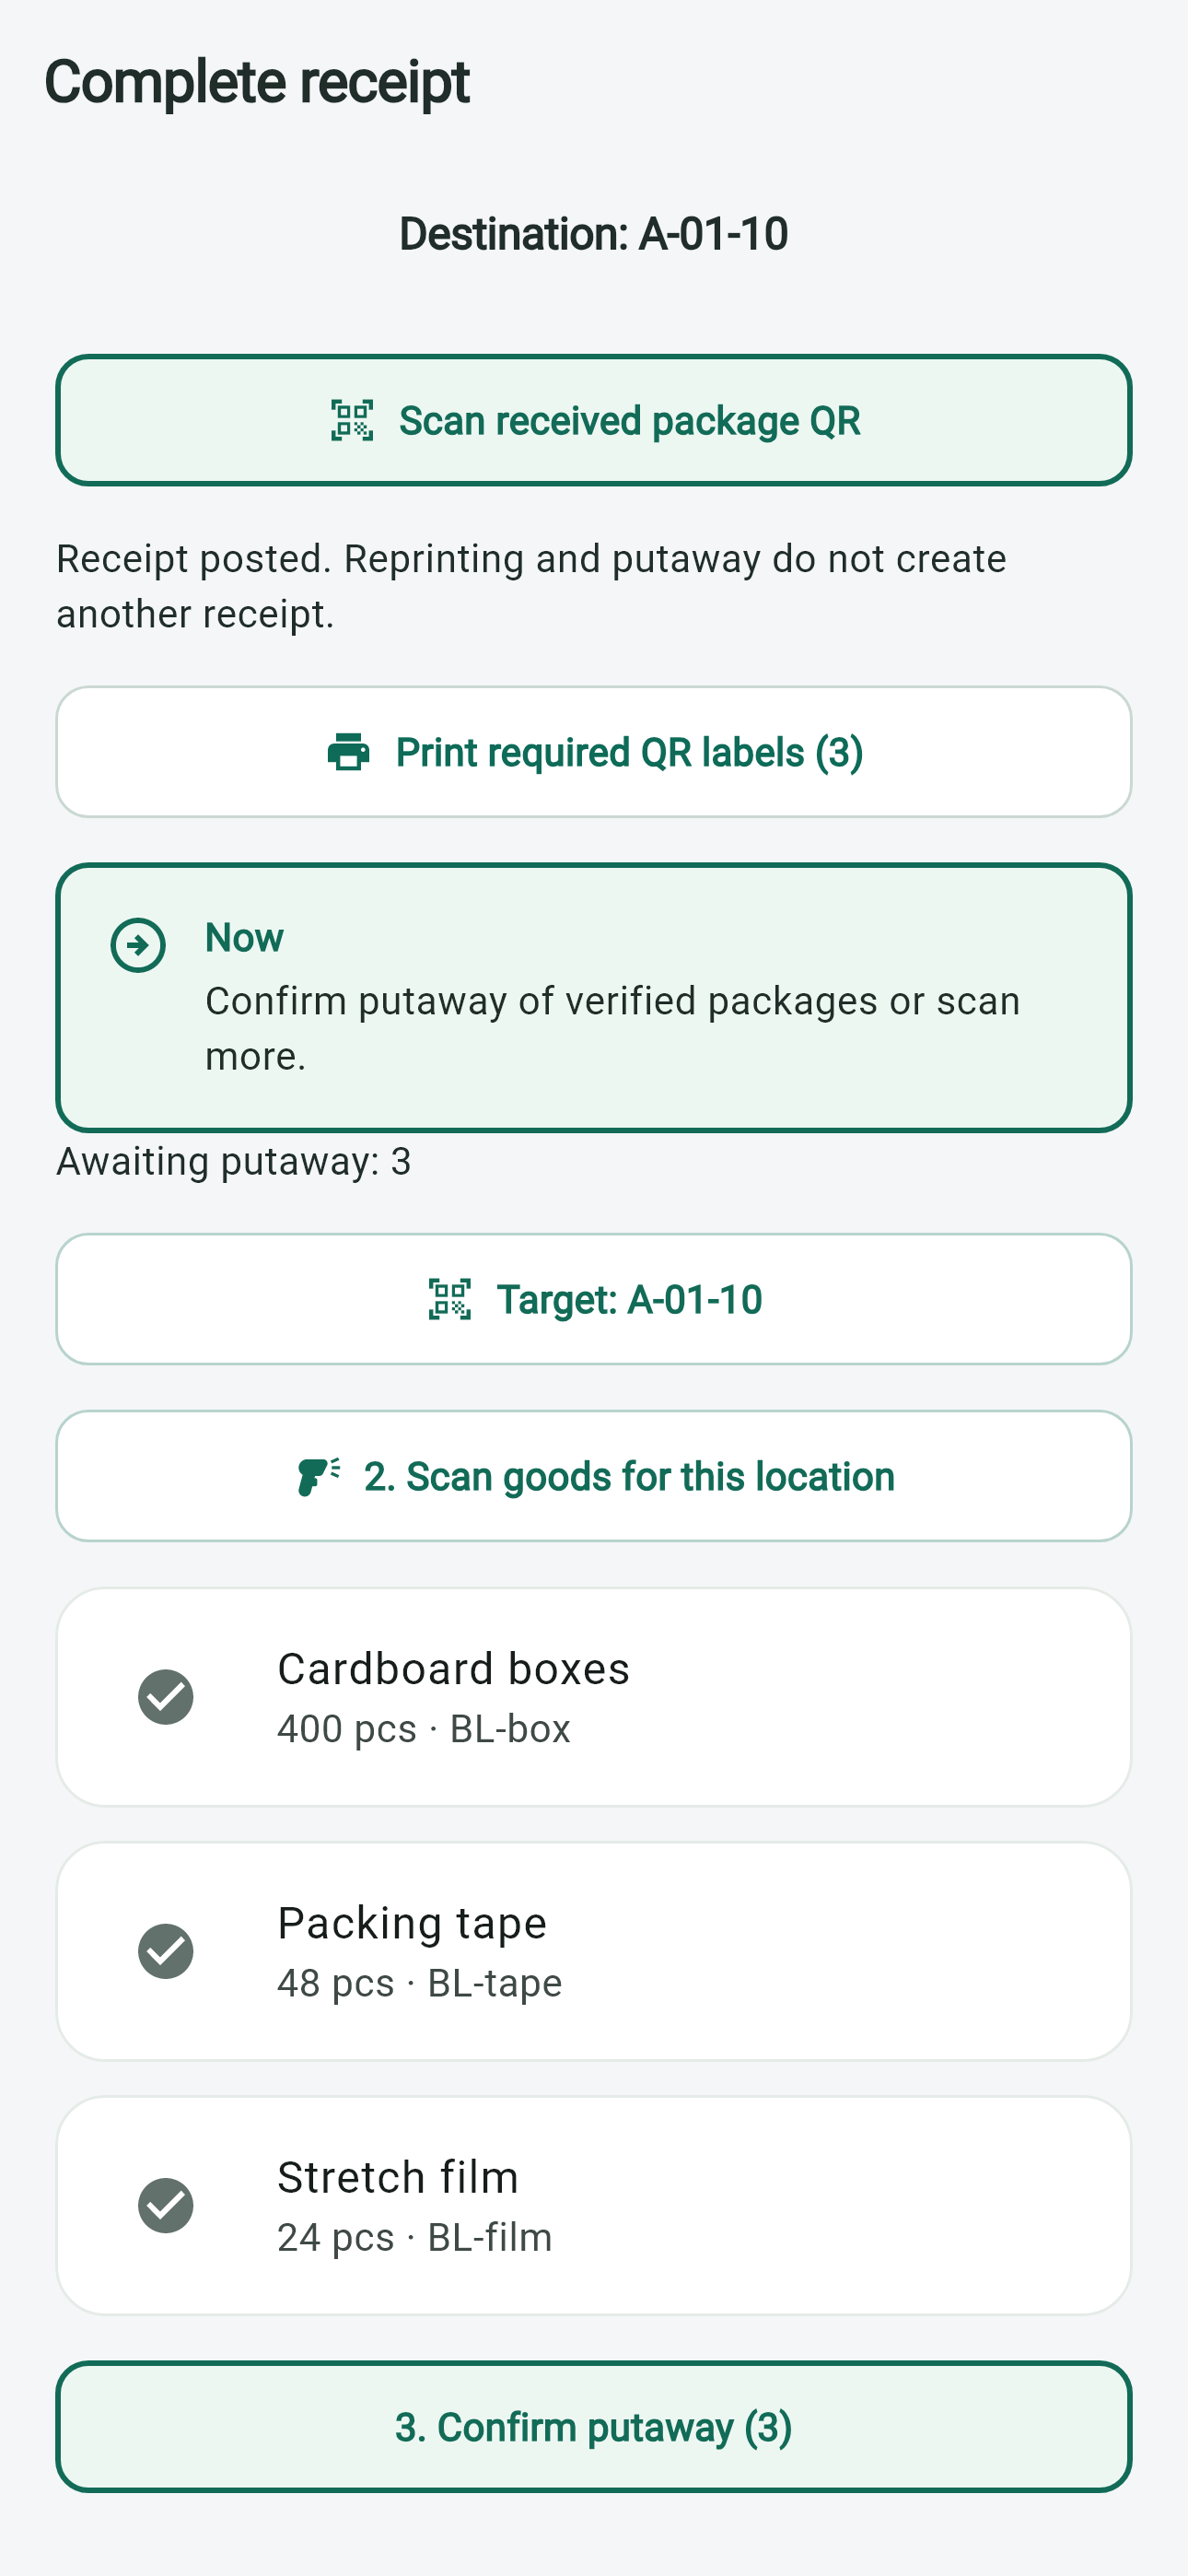
One location, several packages
For a receiving batch, scan the target location once, verify each package and review the quantities before confirming the batch.